How to Build a Fluorescent Grow Stand to Start Seeds Indoors
March 16th, 2010 by Blogging Farmer The growing season in Upstate NY is not nearly as long as one would like, so it’s helpful when you can start seedlings indoors, while it’s still too cold outside. However, commercial grow lights can be expensive, starting from $129.00 for this Tabletop model to $569 for this heavy duty 3-shelf model. In this tutorial, I explain how you can make a 4-shelf one for around $140. Assembly time is also under an hour.
You can see the finished version on the right. The bright lights contrasted with the dark interior of the room make it kinda hard to photograph this thing well. However, you get the general idea. Materials needed (everything is pictured in the photo to the left):
 5-shelf shelving unit with wire shelves. Lowe’s carries a particularly handy model that easy to assemble and pretty sturdy. This was the most expensive part of the project and cost around $70.
- 4 ft (48″) fluorescent work light fixtures. These are the el cheapo kind with old-fashioned non-electronic ballasts and cost $10 each. I used 4.
- Full spectrum fluorescents to fit said fixtures. Mine used the fat T-12 tubes. A 10-pack cost $27.
- 3″ screws for hanging up the work lights. You need 2 per light. Screws are better than nails because they won’t slip.
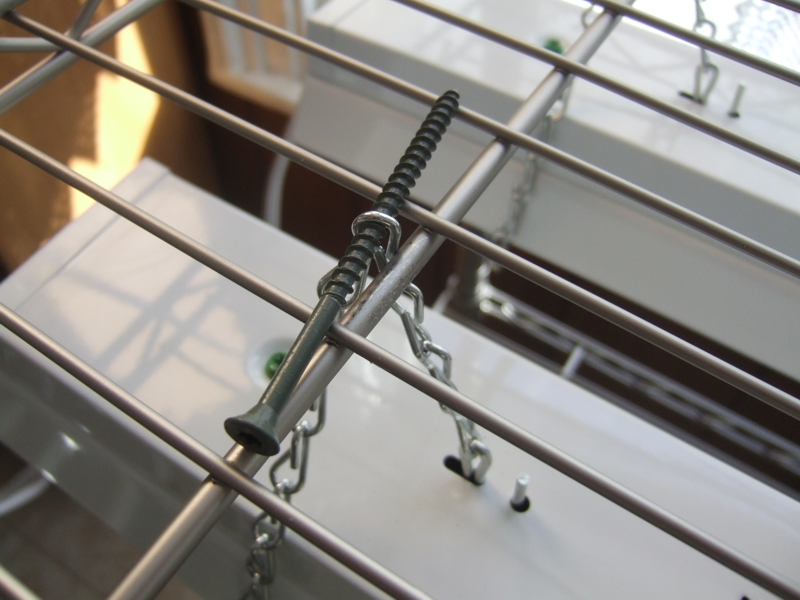
Assembly is easy! First, assemble the shelving unit. Second, hang up the light fixtures. The ones I bought came with little chains for hanging up in a garage or workshop. You can push a 3″ screw through a link of the chain, and then wedge the screw between the wires of the shelf above the lamp. See the pictures below to see what I mean.
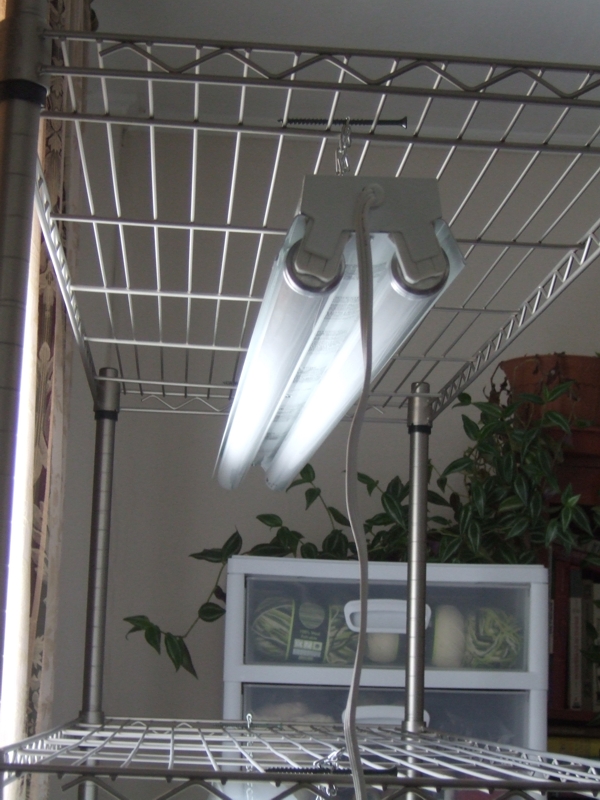
This is great because you can easily adjust the height of the lamps above your seedlings (and that’s important; you want to keep the lamps just a couple of inches above the plants to maximize the light exposure they receive).
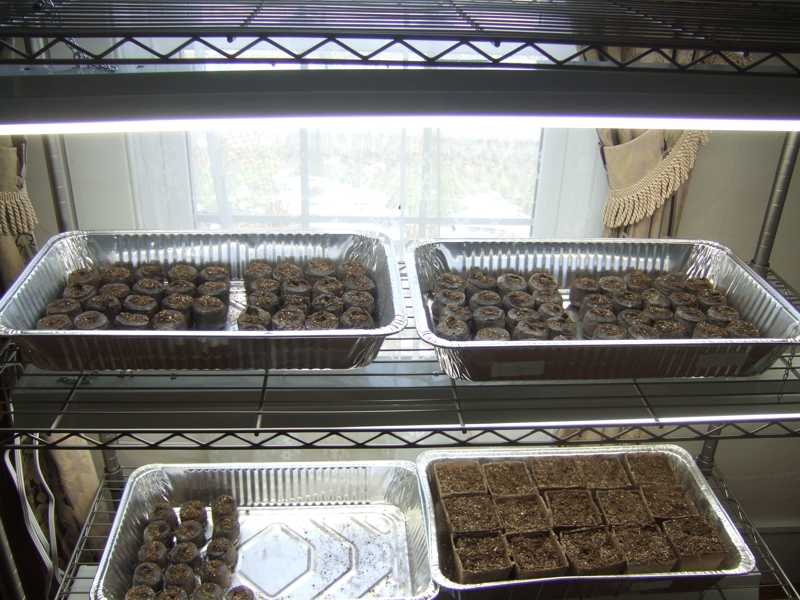
That’s pretty much it! You’re done! Pat yourself on the back for saving yourself some $400. Our first seedlings are already in the grow stand:
Important note: because these were the cheapest fixtures I could get, they have old-fashioned magnetic ballasts, not electronic ones. This means they have that slight fluorescent flicker and buzz annoyingly. This is not a problem for us as we keep the stand upstairs and out of the way. However, if you’re cramped for space and fluorescent buzzing bothers you, you might want to invest in fixtures that use electronic ballasts (somewhat more expensive).
Posted in Country Life, DIY, Garden, Healthy Living, How To, Organic, Vegetables | No Comments »