How to Run a Chick Brooder Properly
April 25th, 2010 by Blogging Farmer
Newly-hatched chicks, just like human babies at the beginning of their lives, cannot maintain their own body temperature and so are susceptible to cold or over-heating. This lasts until their fuzz is replaced with feathers, at the age of 4-5 weeks or so. In the wild, chicks are cared for by the mother. However, if you’re hatching eggs in an incubator or ordering day-old chicks, you don’t really have that option — not to mention the fact that domestic hens often make terrible mothers, because of breeding that focused on egg-laying rather than mothering skills.
This is where a brooder comes in. This can be something as simple as a big cardboard box you keep in your bedroom to a setup like we have: an 8’x9′ manufactured wooden shed. The principles are the same though.
Equipment you will need to operate your brooder:
 Plastic dropcloth, to make cleaning up your brooder easier once you’ve moved the chicks out.
- Some way to set up an enclosure. If you’re setting the brooder up in a cardboard box, this obviously isn’t a problem. We use a roll of cardboard about a foot wide that we gradually unroll to make more space as the chicks grow.
- A heat lamp with a fixture. The heat lamp can easily be found online or at a pet store. In our area, Tractor Supply carries them. For the fixture, I use a clamp-on worklight that run about $10 at Walmart.
- Feeders and waterers. Can be purchased at an agricultural supply store, such as Tractor Supply.
- Bedding material. We like to use paper towels for about the first couple of weeks, and then switch to wood shavings.
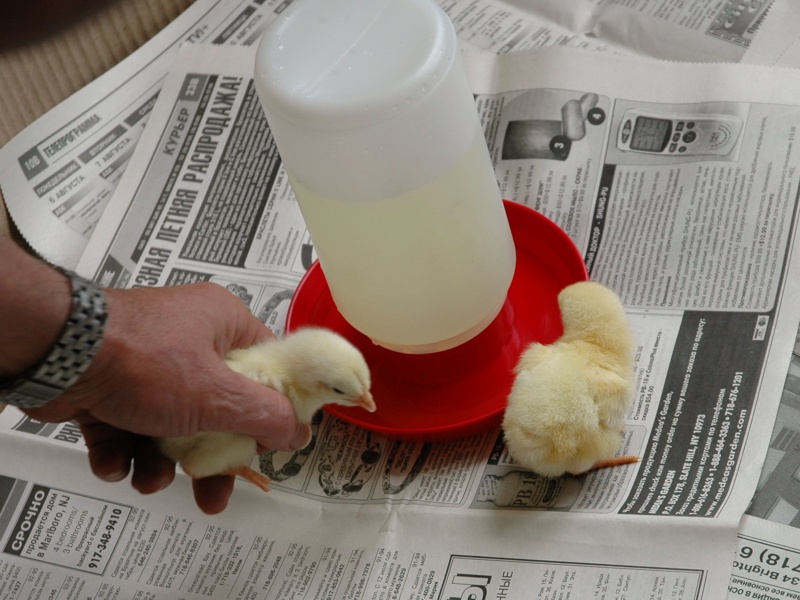
Set up is pretty easy. Lay down your dropcloth, put up your enclosure, lay down the paper towels or shavings and hang the heat lamp (about 2-3 feet off the ground works well). Fill the waterers and feeders, and add chicks.
When you are putting chicks in the enclosure, it is very good practice to dip the beak of each in a waterer to make sure they know where the water is.
Setting the Optimal Temperature for Chicks
The optimal temperature for a newly-hatched chick is around 82F (28C), and this is what you should maintain for the first week. The best way to test for the correct temperature is by placing a thermometer under the heat lamp. After the first week, you should bring the temperature down about 2-3 degrees per week.
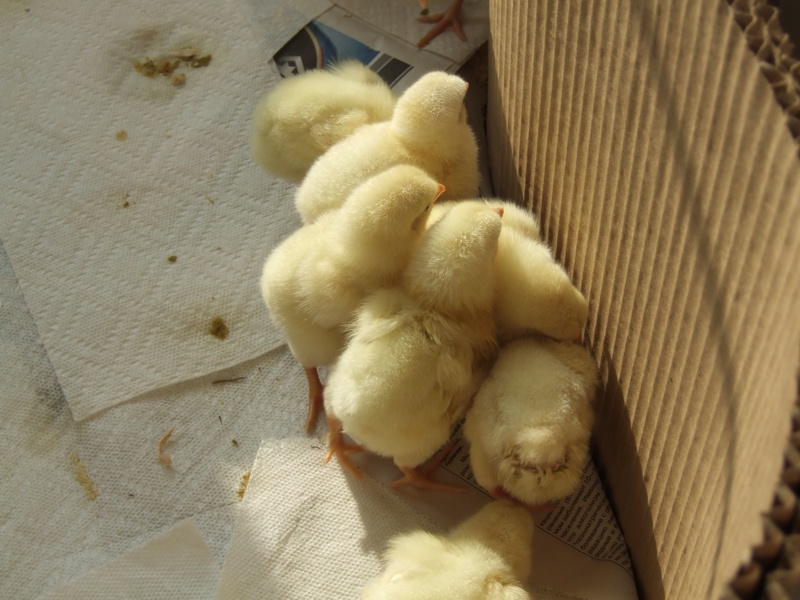
A heat lamp is not a precise method of heating, and the brooder can get either too cold or too hot through the day-night cycle. If it is too cold, all the chicks will be huddled directly under the heat lamp and pressing up against each other. If it is too hot, they will be as far from the light of the heat lamp as possible. You want the chicks to be under the lamp, but not huddled (as in the pic below).
After 4-5 weeks, your chicks should be all covered in feathers and ready for a move to the great outdoors. Now is a good time to start thinking about making that mobile chicken coop!
Posted in Chickens, How To | No Comments »